Hey guys! Today I wanted to do a review on the ONLY Inglot
polish that I have! You can find their products at their very own shop in Ocean
Mall, Karachi. So I actually didn’t buy my polish from Pakistan but my
sister got it for me from Dubai. I am not sure about the prices in Dubai but
in Pakistan the nail polishes are SUPER pricey.I don't remember what exactly the price is in Pakistan but it is well above Rs.1000.
But in my opinion, the price is justifiable with the amazing
quality of their nail polish. I’ve had this one for almost a year now and the
last time I used it was months ago. Unlike regular, cheap polishes, the formula
is just as thin as it was when the polish was new. Sure the oil had resurfaced
on the top but a good shake did the magic!
Formula
I’ve only used one polish by Inglot but I’m already a fan! The formula is super pigmented and very manageable. It does not get thick with time as you would expect. I have used a ton of polishes by different brands, even OPIs, and none of them have stayed in such perfect condition as this one. I must also mention that I hadn’t used this polish in over 3 months but it still stayed thin unlike regular polishes. I’ve also tried the formula in water and it spread perfectly in water (although I would never use a polish as expensive as this one for water marbling :p).
Brush
The brush is out of this world! Unlike OPI and Colour Studio, it’s thin and helps steer the polish in the desired direction easily. The best part about the brush is that it allows one to apply the polish without any mess even on short nails. I personally find handling thick brushes difficult (which of course varies from person to person) which is why the Inglot brush has become my absolute favourite.
Staying time
The staying time of this polish is just OK. But to be fair,
I did not use a top coat to seal it in. Personally, I feel however good the
formula is, the polish will eventually chip away because our hands are the most
used parts of our body. So with them on the go 24/7, it is only justified if it
does peel away.

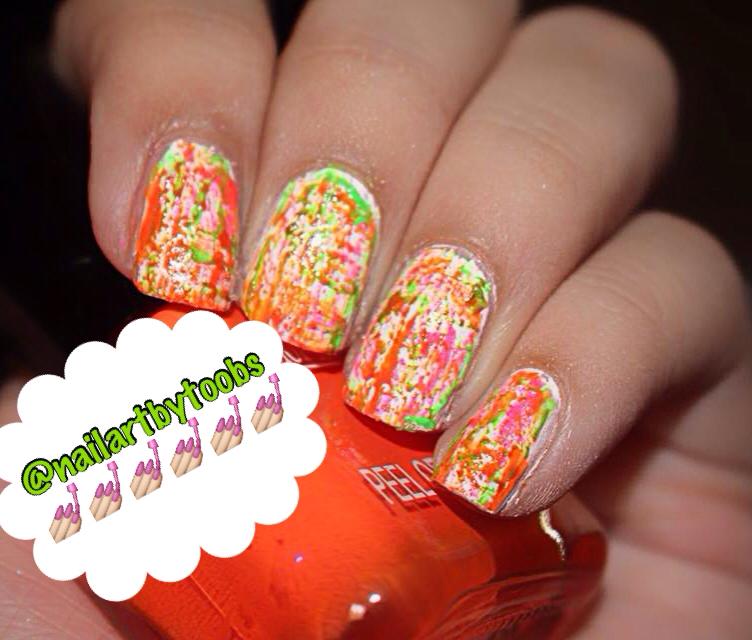
Here's a swatch!
FINAL VERDICT:
10/10 (yes I loooooove this polish) :p
Sooo that's it for today, my lovelies! Hope you has as much fun reading this as I had writing it up! Let me know what else you guys thin about this polish in the comments below!
Sooo that's it for today, my lovelies! Hope you has as much fun reading this as I had writing it up! Let me know what else you guys thin about this polish in the comments below!
Thank you for reading and have greeeeaaat day!
Love,
Tooba.