Hey guys! Today i decided to do a post on one of my favourite nailart designs. The Cheetah Print! So lets get staaaaarteddd!!!

After your base has dried, take your second colour and place random dots all over your nail as shown. Make sure they aren't HUGE blobs just medium sized ones which will dry fast.

Now take your toothpick and dip it in the black polish. Outline the spots you place before with the black. Make 'C' shapes around them and give random breaks in between as shown. Do this to all the spots,

Then place some random shaped spots in black in the empty spaces like this.

After you're done, you wanna give your nails ATLEAST 30 minutes to dry. This is important because if you hurry with the topcoat, the black on the nails will smudge. Also, there's always a chance of smudging even if you have given your nails an ample amount of time to dry. So be generous with the topcoat. Apply alot of it on each nail and gently drag it across like so.
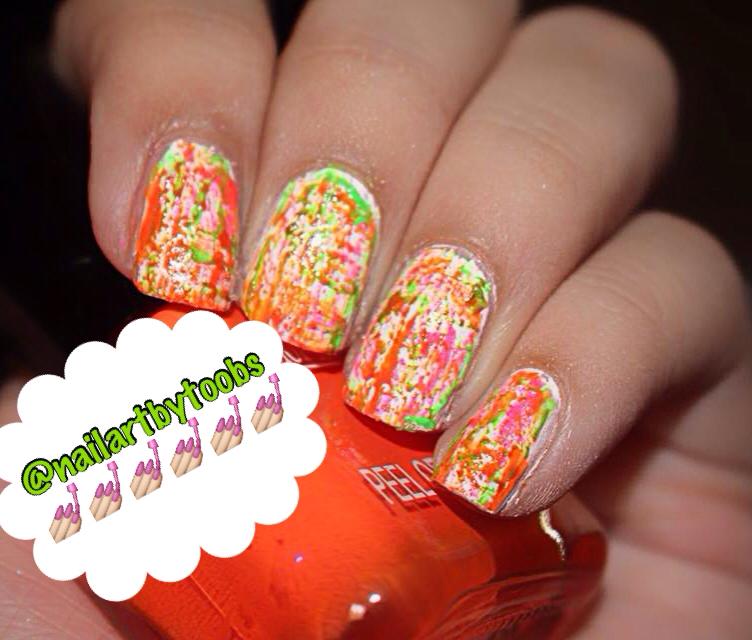
Check out my full version! :D

Soooo that's it for today ladies! If you wanna checkout more of my designs, head over to http://instagram.com/nailartbytoobs. I might be conducting a giveaway soon so you may as well follow me to stay updated. Also, don't forget to follow me on Google+ (option at top right) so you never miss a post!
Start off by choosing any two colours of your choice and a black polish. I chose a peach and silver shade. You will also need a toothpick for this look. Now, paint your nails with one of the two colours you chose.
After your base has dried, take your second colour and place random dots all over your nail as shown. Make sure they aren't HUGE blobs just medium sized ones which will dry fast.
Now take your toothpick and dip it in the black polish. Outline the spots you place before with the black. Make 'C' shapes around them and give random breaks in between as shown. Do this to all the spots,
Then place some random shaped spots in black in the empty spaces like this.
After you're done, you wanna give your nails ATLEAST 30 minutes to dry. This is important because if you hurry with the topcoat, the black on the nails will smudge. Also, there's always a chance of smudging even if you have given your nails an ample amount of time to dry. So be generous with the topcoat. Apply alot of it on each nail and gently drag it across like so.
Check out my full version! :D

Soooo that's it for today ladies! If you wanna checkout more of my designs, head over to http://instagram.com/nailartbytoobs. I might be conducting a giveaway soon so you may as well follow me to stay updated. Also, don't forget to follow me on Google+ (option at top right) so you never miss a post!
Take care and have a great day!
Lots of Love
Tooba K.